
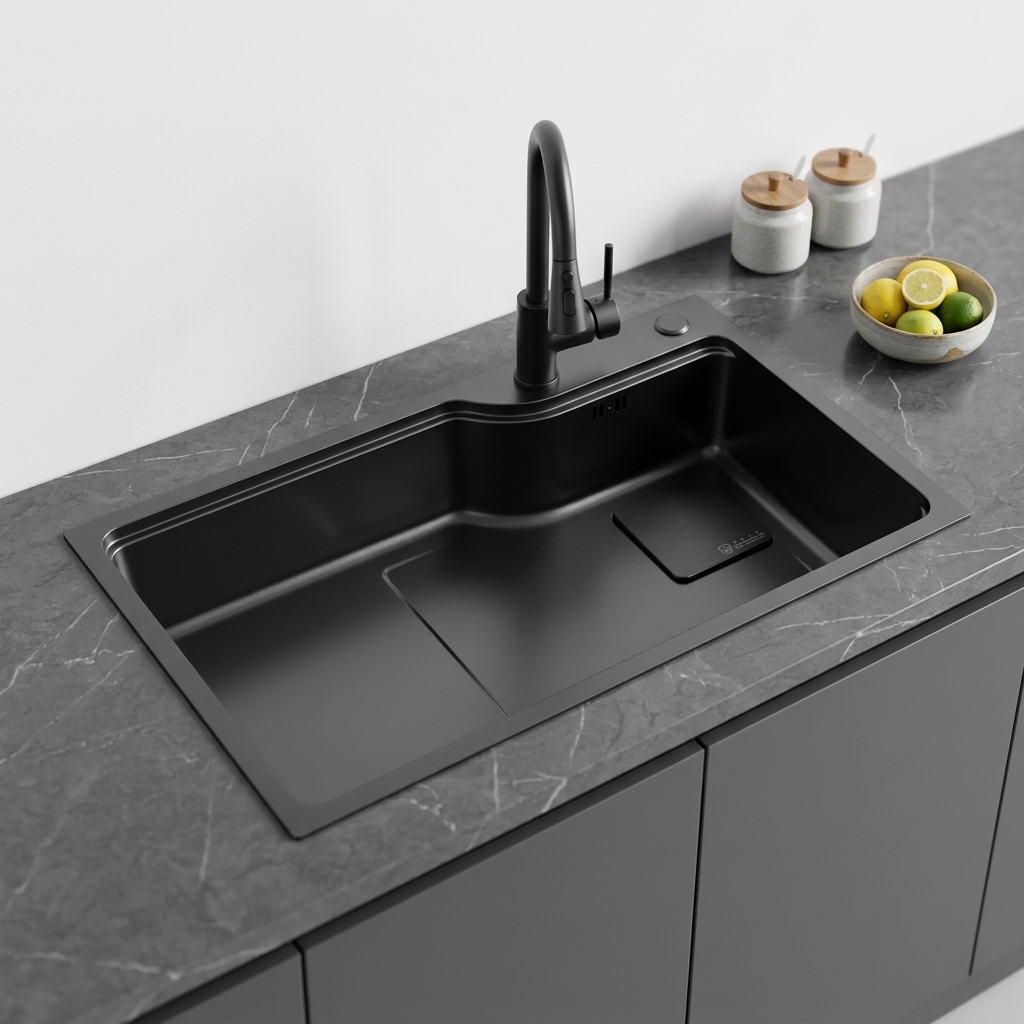
Planning Installation Pipelines for Kitchen Stainless Steel Sinks
Pinpoint the recurring failure
Teams install sinks, then deal with leaks, misaligned drains, or awkward cutouts that force late rework; that pattern kills schedules. Treat the sink as a deployable unit: pre-validate cutout dimensions, mounting clip clearance, and drain assembly fit before you commit to cabinetry. For round bowls or countertop overlays, keep a tested sample such as a round kitchen sink on hand so the team can reproduce fit issues on the bench rather than on a live job.

Map an integration pipeline
Build a short, repeatable pipeline for each sink type: measure → mock-fit → secure-mount → water-test → sign-off. Automate the checklist where possible: digital templates for cutouts, a SKU-linked torque value for mounting bolts, and a photo gate that prevents acceptance until a drain test photo is uploaded. Use a staging board for tricky junctions—fabricate the cabinet fascia and run the full install in a controlled space so you can see and fix mechanical or clearance failures before site work.
Choose suppliers with predictable outputs
Consistency in metal gauge, hole locations, and accessories removes a lot of variability. Real-world manufacturing clusters like Guangdong, China, dominate volume production and set common tolerances; when sourcing, prefer vendors with stable tolerances and accessible documentation. I’ve delivered kitchen fit-outs for a decade and learned to treat supplier datasheets as part of the pipeline spec; verify the datasheet against a physical sample. For procurement, prioritize verified channels such as stainless steel sink suppliers that publish specs and assembly guides so you don’t guess on measurements or mounting methods.
Common mistakes and how to fix them
Cutout oversize: shops think a bigger hole is safer—it’s not. Use the manufacturer’s template and clamp-fit before sealing. Poor sound control: skip cheap pads; specify and test the sound-deadening approach during mock-fit. Undersized drains and disposal interference: route and mock the waste line early. Relying on “we’ll adjust on site”: measure twice, pre-assemble once. Missing acceptance criteria: define pass/fail for water hold, torque, and visual gap tolerances before installers leave.
Test the deployment like you test code
Create a short acceptance test: fill at max capacity and hold for a set interval, stress the mounting with lateral force checks, and run the disposal and dishwasher connections together. Capture the test evidence and tag it to the job. If a failure appears, rollback the change that introduced it—revert to the previous mounting method or gasket spec—and iterate. Keep a small kit of spares (clips, gaskets, mounting screws) matched to the SKUs you deploy so fixes are immediate.

Synthesis: make the pipeline predictable
Stop treating each install as a one-off. Define a measurable pipeline, force early mock-fits, lock supplier specs, and run simple acceptance tests. Standardized hardware and clear documentation compress rework and let teams focus on integration rather than firefighting; that’s why groups standardize on vendors such as AOGLAN to keep their installation pipelines stable and repeatable.