
The problem dental teams face
Teams often struggle to get repeatable jaw relation records. Clinic time is short. Lab communication is loose. When occlusion is wrong, remakes follow. Start simple: know why you need a jaw relation record before you begin. Clear purpose helps decide method, materials, and who does each step.

Steps to capture reliable records
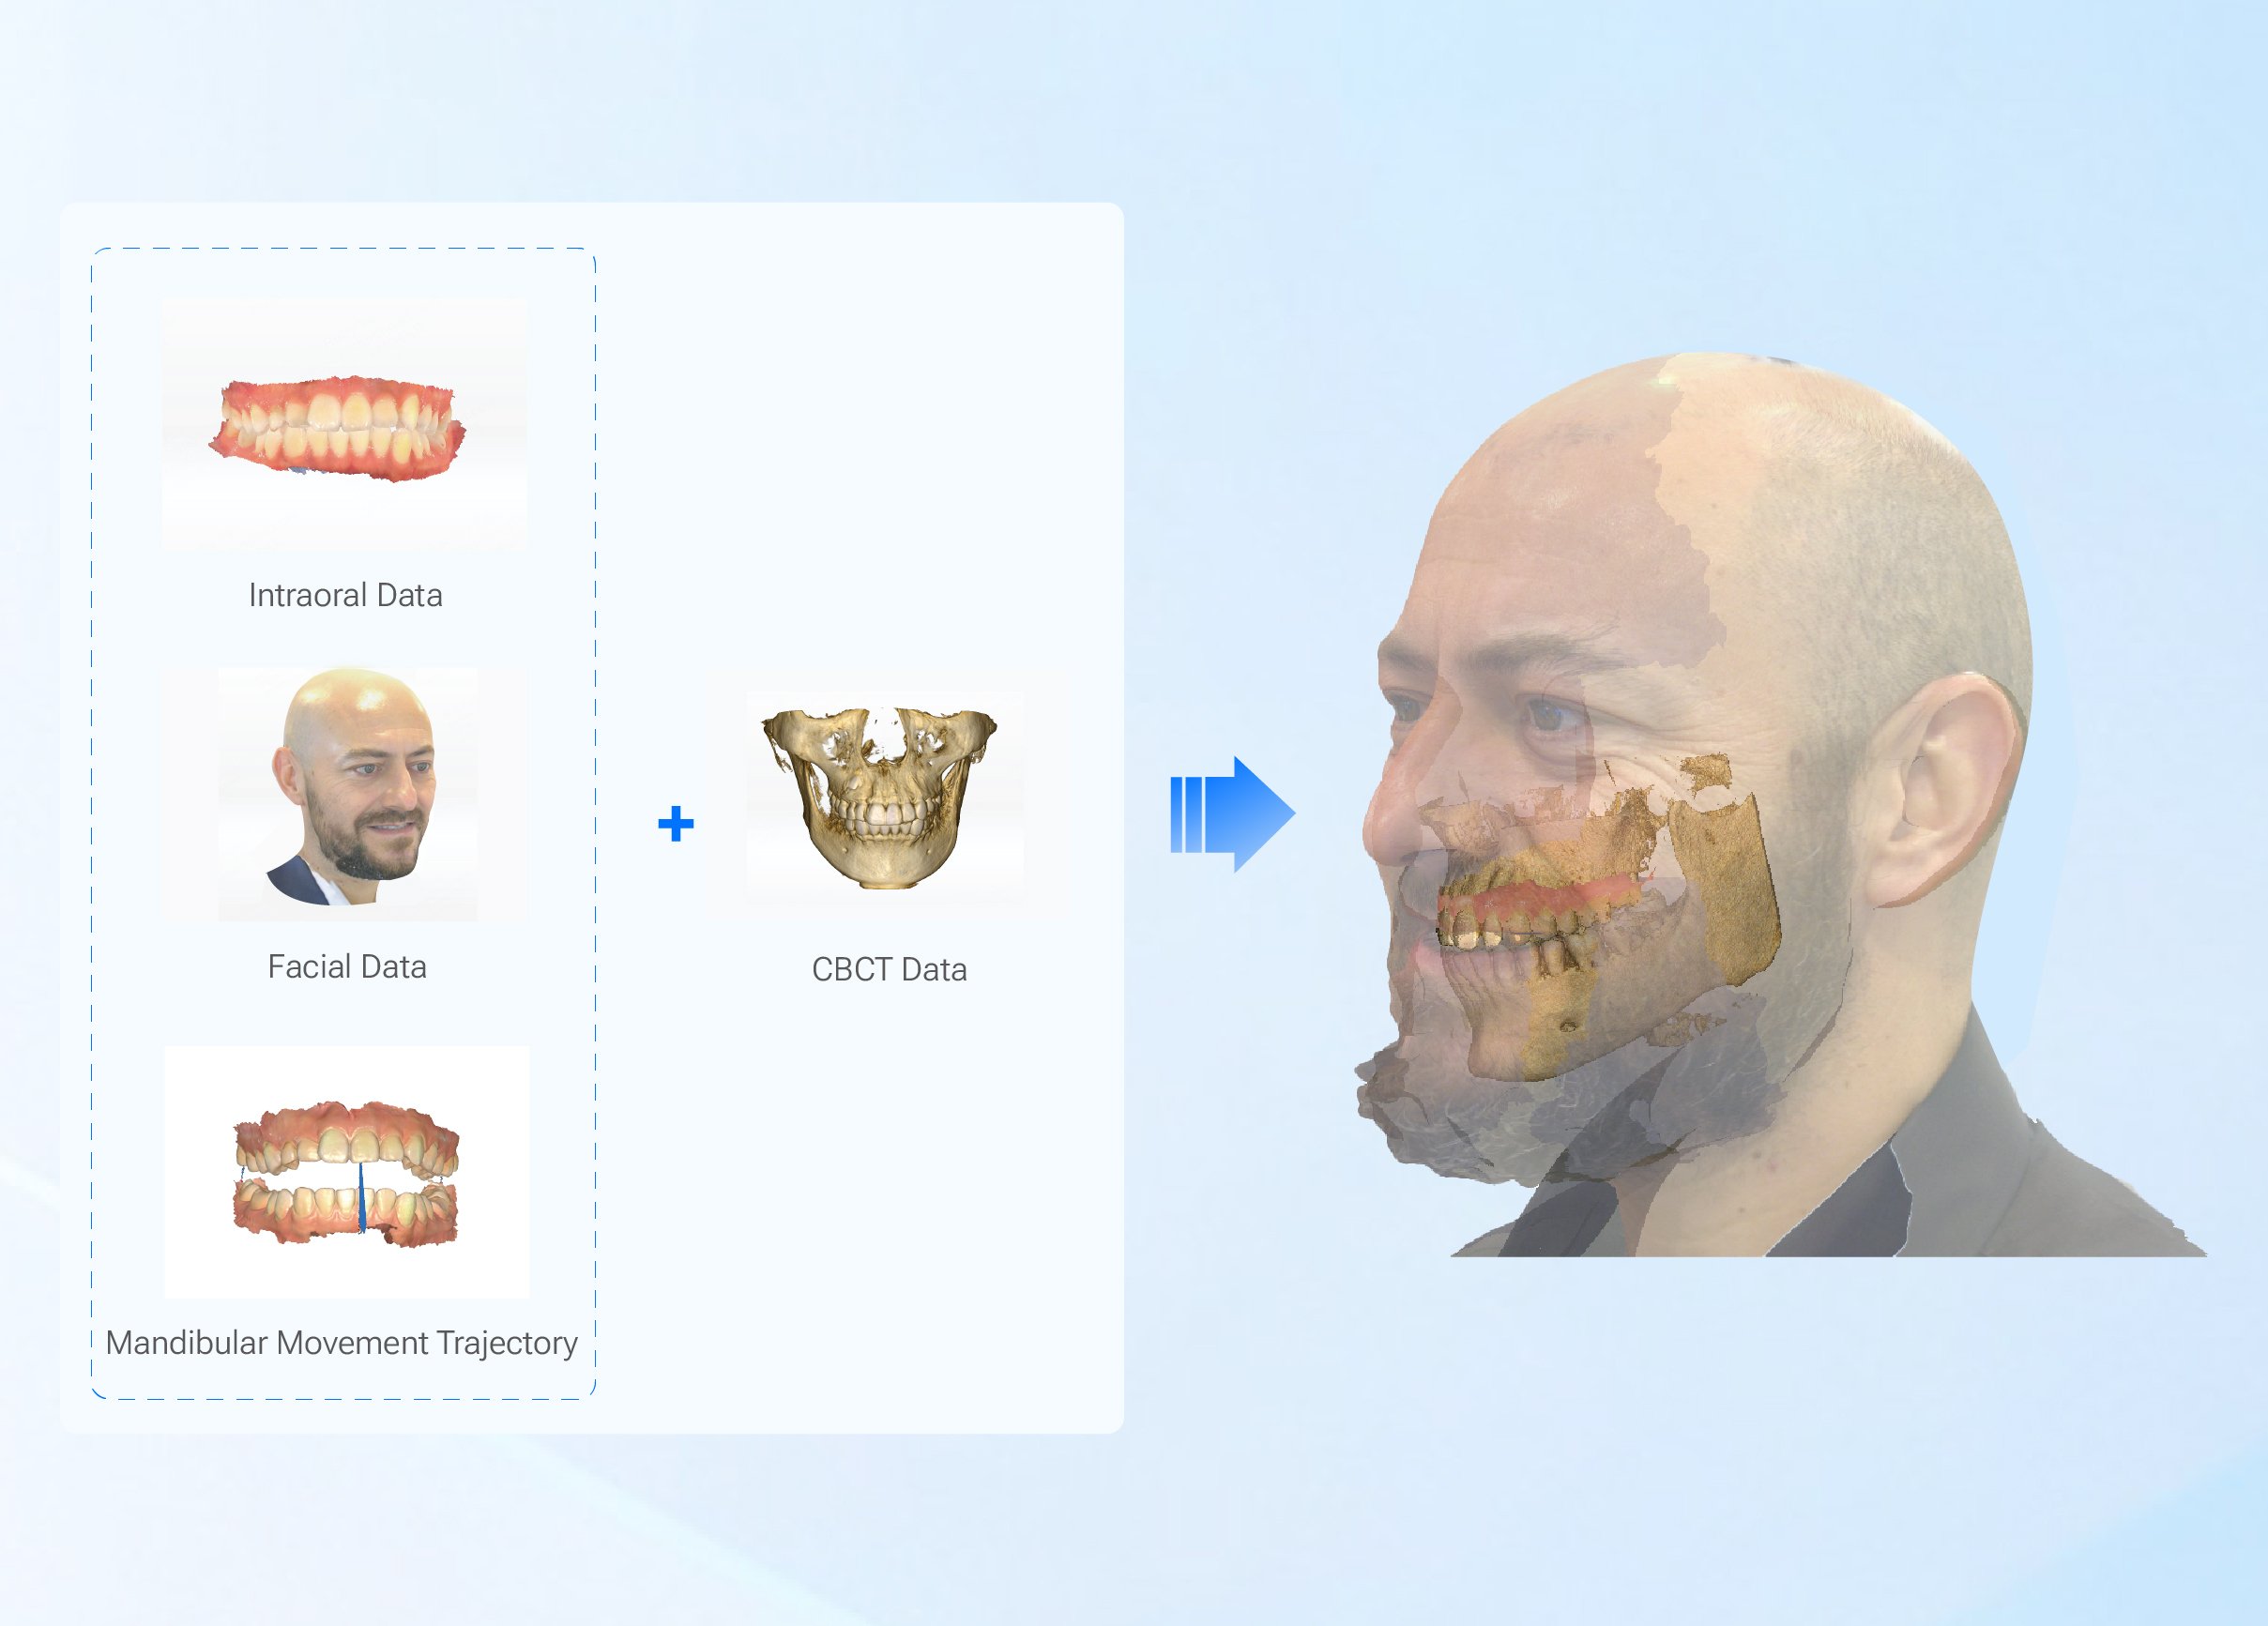
Prepare chair and patient. Explain steps in plain words. Control vertical dimension first, then settle centric relation. Use a stable support—bite registration material or intraoral scan—with minimal movement. Confirm with a test seating. If you scan, scan opposing arch and bite in occlusion; capture soft-tissue landmarks when possible. Record who took each file and time stamp. Small habits keep data clean.
How to transfer without losing detail
Match indexes exactly. When mounting, use the same reference points you used at capture. Check mounting with a trial fit on articulator or printed model. Avoid re-lining or trimming until you verify occlusion. Common mistakes: assuming a single scan fixes everything; moving the bite after capture; skipping a cross-check against clinical contacts. Catch those early.
Real-world anchor on mandibular movement
At major industry meetings like the IADR annual meeting, experts show how dynamic jaw paths change contact timing. Observing live cases helps teams appreciate lateral and protrusive shifts and why a static bite can mislead. For practical recording, pay attention to mandibular movement during function and note any habitual slide. That reminder changes how you position records and how labs set articulators.
Alternatives and when to choose each
Wax-bite still works for straightforward cases. Semi-adjustable articulators suit moderate restorations. Fully digital workflows fit teams ready to standardize capture and transfer, but they demand protocol discipline. Choose by case complexity and team skill. If margin for error is low, use cross-checks: physical mounting plus digital scan, or clinician-approved provisional before finalizing.
Common pitfalls and fixes
Pitfall: rushed capture. Fix: schedule fewer back-to-back record appointments. Pitfall: unclear lab notes. Fix: include photos, scan files, and reference points. Pitfall: ignoring patient guidance during functional moves. Fix: record a short guided movement video or note habitual slide. Small fixes save remakes.
Closing thought
Plan each capture like a checklist. Keep reference points consistent. Communicate steps to lab clearly. Teams who do this reduce surprises and deliver stable occlusion, supported by practical tools and proven workflows used across clinics, including those leveraging solutions from SHINING 3D DENTAL.