
Introduction: Bold Claim, Real Facts, Big Question
No cap — LED barn lights are flipping the script on old farm lighting. Out on the yard, led barn lights can cut energy use by up to 70% and slash maintenance trips (true numbers, not hype). I see it every season: a farmer swaps bulbs and laughs about the first month’s bill — then asks, why didn’t we do this sooner? The scene is familiar: dusty rafters, flickering fixtures, and high bills. Data shows many small farms still run on HID or fluorescent setups that waste watts and time. So, what’s keeping folks from switching? Let’s jump in — and I’ll break it down straight. (Yep, I talk like I work in the barn.)
Part 1 — Why Old Fixes Keep Failing
barn led lighting looks simple from the brochure. But when you dig in, older solutions show cracks. I’ve seen ballast failures, bulbs dimming, and sensors that just don’t sync with real work patterns. Those legacy HID systems heat up, need frequent relamping, and react slowly to on-off cycles. The result? Down time, higher service cost, and annoyed crews. I’m not exaggerating — it’s frustrating to swap parts every month. Add in mismatched color rendering (poor CRI) and you lose visibility where it matters, like near machinery or feed lines. Look, it’s simpler than you think when you know what to look for.
Technically, two big flaws stand out. First, power converters in older retrofits often don’t match the fixture specs, causing flicker and reduced life. Second, many installs ignore lumen output per square foot — so barns end up either underlit or wasting lumens. Those are not sexy problems, but they bite. I test setups with a light meter and note how uneven light can cause shadowed work zones. That’s a safety issue, not just an annoyance. — funny how that works, right? I use terms like driver reliability and thermal management when I consult, because they predict longevity better than sticker claims.
What exactly breaks down?
Part 2 — Principles for Better Barn Lighting
Now let’s look forward. Modern designs for barn led lighting center on a few clean principles: proper thermal paths, matched drivers, and smart control. I like systems that use integrated power converters sized for the LED array, not a one-size adapter. Good thermal management keeps junction temps low and preserves lumen maintenance. When I specify a system, I check lumen depreciation curves and confirm CRI is high enough for color tasks, like reading labels or spotting stains on livestock. These parts matter. I’ve spec’d dozens of barns and seen the difference: fewer service calls, steady light levels, and happier workers.
Let me be blunt: cheap retrofits often skip sensor calibration and dimming profiles. That kills potential savings. You want networked control or basic motion dimming that matches your work rhythm. Edge-computing nodes are overkill for tiny ops but make sense in larger farms that want schedule-based scenes. Also, consider surge protection — barns take hits from storms. I recommend protective gear that saves fixtures during storms. The payoff? Less worry, less replacement. I’m telling you from hands-on installs: the right spec saves both money and stress.
Real-world Impact?
Part 3 — New Tech Principles and How to Choose
We move to new tech now. The best barn systems blend reliable hardware with simple controls. I mean basic, usable tech — not flashy features that no one will touch. Focus on these: quality LED modules with stable drivers, thermal design that keeps temps down, and controls that fit your work patterns. For farms that want smart features, wireless mesh controls let you group zones and set schedules without a big wiring job. I’ve worked on installs where a simple schedule cut night-time runoff lighting in half. It felt great — like paying yourself back month after month. — yes, I get nerdy about savings sometimes.
Also, think about maintenance access. Fixtures that can be serviced from ground level or swapped quickly pay dividends. If you run livestock, choose IP ratings that resist dust and moisture. And don’t ignore lumen maintenance forecasts; a spec that starts bright but drops quickly is a false economy. I prefer systems with measured lumen output at 10,000 hours — that gives a real picture of long-term light quality. These are the principles I apply when I advise clients, and they work across small and large barns.
What’s Next?
Closing — Three Metrics I Use to Evaluate Solutions
Here are three key metrics I always check before I sign off on a plan: 1) Lumen retention at 10k hours (how much light stays); 2) Driver efficiency and surge protection (will it live through storms); 3) Total cost of ownership over five years (not just upfront price). Those tell the story. I’ve seen systems with low upfront cost flop fast. Conversely, well-specified LED solutions pay back quietly and keep running. I like to sum it up: measure, match, and plan. Measure the space and tasks. Match the tech to the use. Plan for service and protection. It’s practical. It’s human. It saves money and hassle — trust me, I’ve stood in barns at 2 a.m. fixing lights.
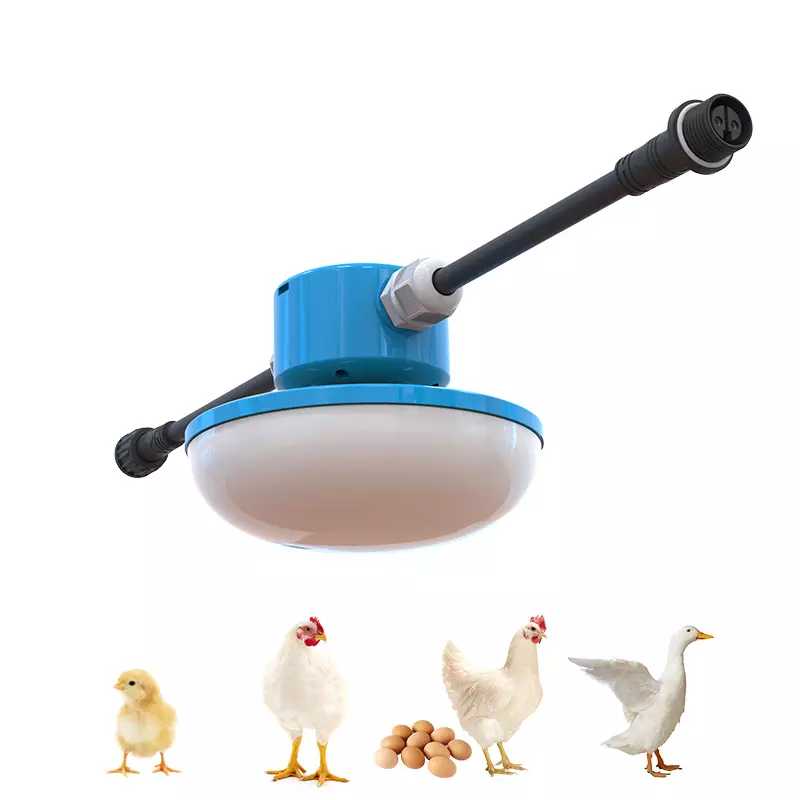
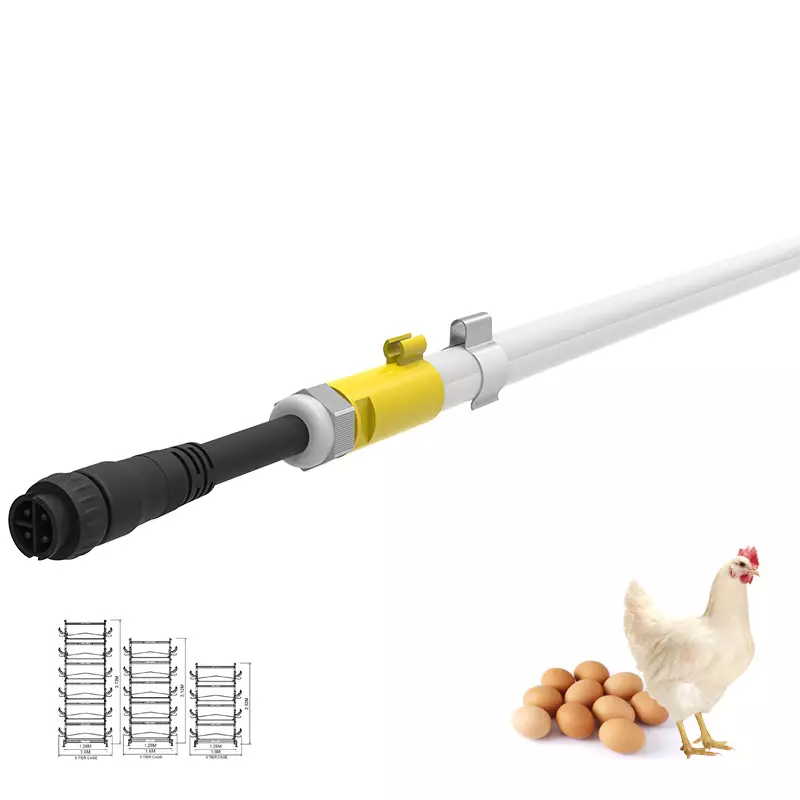
If you want a no-nonsense starter checklist, I’ll share one: check CRI and lumen per square foot, confirm driver specs, and pick a control level you’ll actually use. Simple moves. Big wins. For equipment and kits that meet these standards, check out szAMB.