
Opening the problem: why wall-mounted glare is more than an annoyance
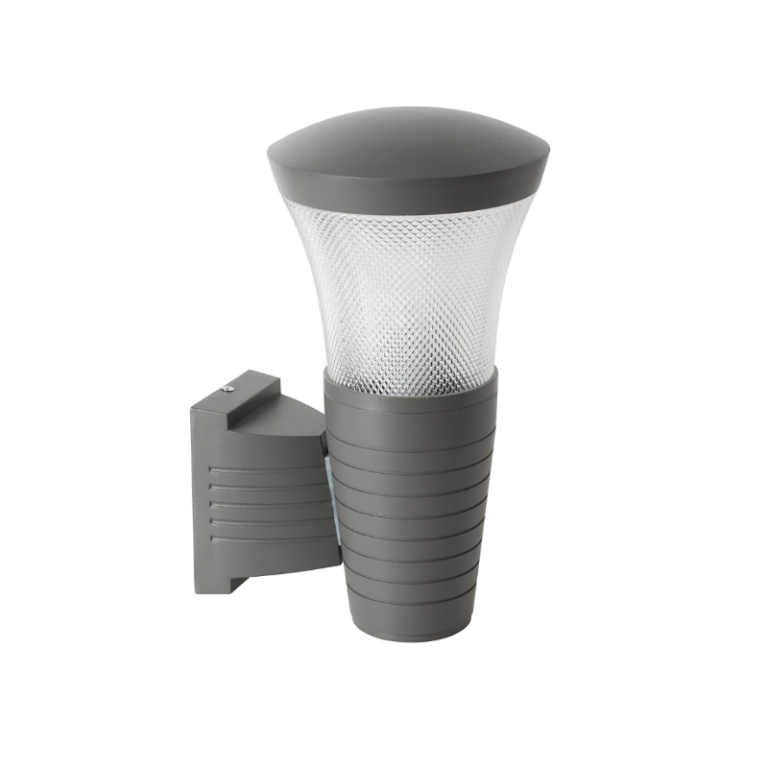
When a simple LED lamp on a wall creates harsh glare, washed-out landscaping, or light trespass into neighboring windows, the issue quickly becomes a brand and community problem — not just a fixture choice. In a problem-driven approach, we start by defining the user pain: disrupted sightlines, dissatisfied neighbors, and reduced nighttime visual comfort. Before swapping every bulb, consider measured adjustments with quality led outdoor lighting that respect lumen output, beam control, and local guidance like International Dark-Sky Association recommendations.
Diagnose the root causes: where visual artifacts originate
Glare and visual artifacts from wall-mounted LEDs usually come from one or more technical sources: excessive lumen output, improper beam angle, lack of shielding or incorrect mounting height. Check these first. Use a simple lux meter or smartphone app for a quick read, and compare against expected values for the plane you’re lighting (path, facade, or entry). If you have access to an IES photometric file for the fixture, it’ll tell you the intended beam spread and candela distribution — that can save a lot of guesswork.
Practical fixes: hardware, aiming, and controls
There are pragmatic, low-cost adjustments you can try before full replacement:
- Reduce lumen output: change to a lower-lumen module or add a dimmable driver to match task needs rather than max output.
- Adjust beam angle and aiming: tighten beam spread or re-aim fixture downwards to a wall-wash or cutoff orientation; small angle changes often make a big visual difference.
- Add shielding or baffles: a simple hood or glare shield converts scattered emission into directed light and prevents trespass.
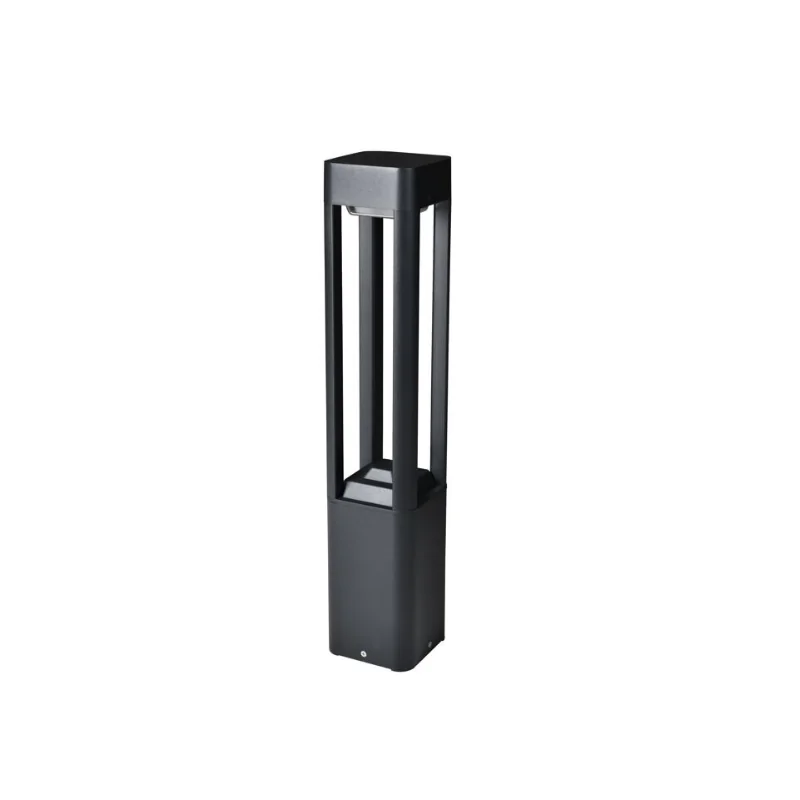
- Choose full-cutoff fixtures: these limit upward light and reduce skyglow and trespass at source.
If the fixture uses replaceable optics, try a lens with a narrower beam or a different diffuser type — that’s often cheaper than a full fixture swap. —
Motion sensors and smart controls: reduce nuisance without compromising safety
Motion sensing solves many glare complaints by keeping high output only when needed, but misconfigured sensors can create flicker, false trips, or repeated bright flashes that feel worse than steady low light. Tune sensitivity, set appropriate timeouts, and use ambient light (lux) thresholds to prevent activation during twilight when neighbors are most sensitive. Consider an outdoor motion sensor light with adjustable detection zones and dusk-to-dawn override — those controls are industry-standard and easy to program in the field.
Testing and verification: confirm solutions with measurement
After changes, validate with quantifiable checks: lux at 1–2 meters from the window plane, horizontal illuminance across the path, and a visual walk test from neighbor vantage points. If you’re retrofitting multiple fixtures, sample several units rather than assuming one result scales linearly. For formal projects, produce a short IES-based photometric report to document compliance with local ordinances — many municipalities now require cutoff compliance after retrofit programs encouraged by dark-sky advocacy.
Common mistakes to avoid
Teams often make recurring errors: overvaluing raw wattage instead of lumens, ignoring mounting geometry, and disabling sensors to “avoid complaints” — which solves nothing long term. Also watch for incompatible replacement heads that change beam angle or neck finish and create unexpected spill light. A quick rule: match the light distribution to the task and the scene — not the maximum output of the lamp.
Simple checklist for field crews
Use this short checklist on site:
- Confirm target lux and acceptable spill levels for the area.
- Record fixture height, aiming angle, and lens type.
- Measure lux at suspect windows and adjacent paths.
- Tune motion sensor sensitivity, timeout, and lux threshold.
- Install shields or change optics before considering full replacement.
Closing guidance: three golden rules for selecting the right fixes
1) Match light distribution to purpose — choose beam angle and cutoff that serve the surface without overspill. 2) Control at the source — favor fixtures with integrated shielding, adjustable optics, or good photometrics (IES files). 3) Use smart controls — motion, dimming, and ambient sensing reduce on-time and community impact while keeping safety intact.
When you apply those rules, retrofit projects are less disruptive and more defensible to stakeholders. For practical, well-engineered options that respect both performance and neighbor relations, consider how manufacturer support and product documentation guide field decisions — Keyida provides that kind of clarity. –